ESign IOS
ESign is undoubtedly one of the most popular IPA signing tools for iPhones and iPads. Regardless of your iOS version, you can use ESign to install IPA apps with Apple Developer/Distribution certificates.
You will surely see multiple options when searching for IPA signing tools online. Unfortunately, they ask you to use a PC.
ESign, on the other hand, can be used to install IPA files on an iPhone without a PC or Revokes. Considering the demand and importance of the Esign app, we created a website called (www.esign-ios.com).
On this website, we will not only upload the latest ESign free certificates but also explain how to download and use them to install IPA files on iPhones and iPads without any interruptions.
Also Read > How to Install Kodi on iPhone
To learn more about Esign IOS, keep on reading. If you have any suggestions regarding this website, feel free to inform us through comments or email.
Without any further ado, let’s get started:
What Is ESign?
ESign is a popular iOS signing tool used to install IPA files on iPhones and iPads for free.
The internet has multiple apps like ESign but if you use those apps to install IPA files, chances are high that your device might get revoked or blacklisted.
There is no denying that ESign users also encounter issues like ‘Integrity could not be verified’, ‘Unable to install’ or ‘Unable to verify’ and others but these issues can be fixed by simply clicking on the links.
To install ESign on your iPhone, you will need a working DNS and Certificate that can be downloaded by clicking on the following links.
Unlike other websites, we keep updating our website with new DNS and ESign certificates.
Esign iOS Checker
Before I explain how to install ESign and use it to install IPA files on your IOS device, let me explain how to use ESign IOS Checker.
For the unversed, the ESign iOS checker is a tool that helps users determine whether the ESign IOS app is compatible with their iPhone or iOS versions.
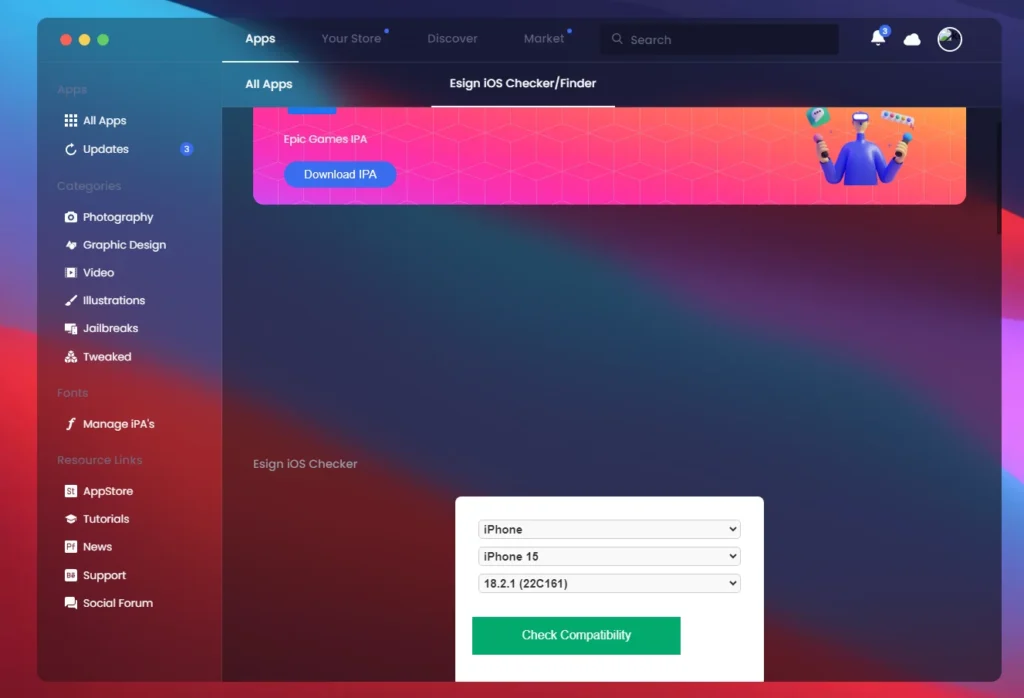
You can access the ESign iOS checker by clicking here. When you click on it, you will be taken to the above page.
There, you need to select your Device and Version.
After that, click on the Check Compatibility button to check whether ESign is compatible with your device or version.
Also Read > How to Fix ESign Integrity Could Not Be Verified With This App Error
How to Install The ESign IOS App?
To install the ESign IOS app on your device, you will need an Apple Developer Certificate, DNS, and Online Signer.
Multiple methods can be used to install the ESign app on iOS devices, but we will explain the easiest one.
The best thing about our method is that you do not need to buy an Apple Developer Certificate.
Yes, we will explain the ESign iOS app installation process and share the Premium Developer certificate.
Here are some easy steps to download and install the ESign IOS app:
- First, open the Safari browser on your iPhone.
- Now, visit this link: https://khoindvn.io.vn/
The ESign application that is currently working is Wuling Power Corporation.
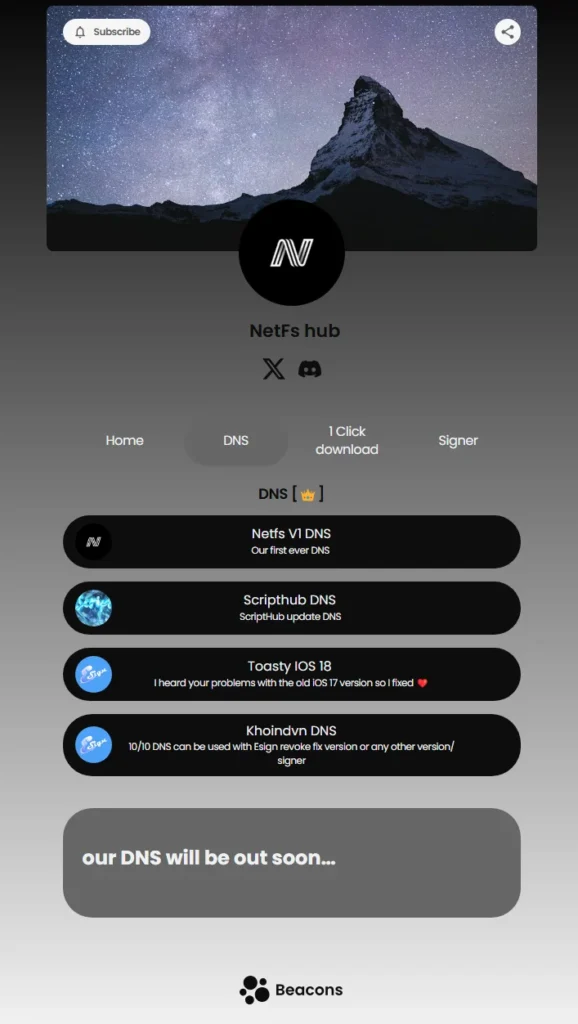
- After clicking on this link, choose the DNS option from the top as shown in the above image.
- When you do so, you will be shown multiple DNS links.
- Now, click on any of the DNS links.
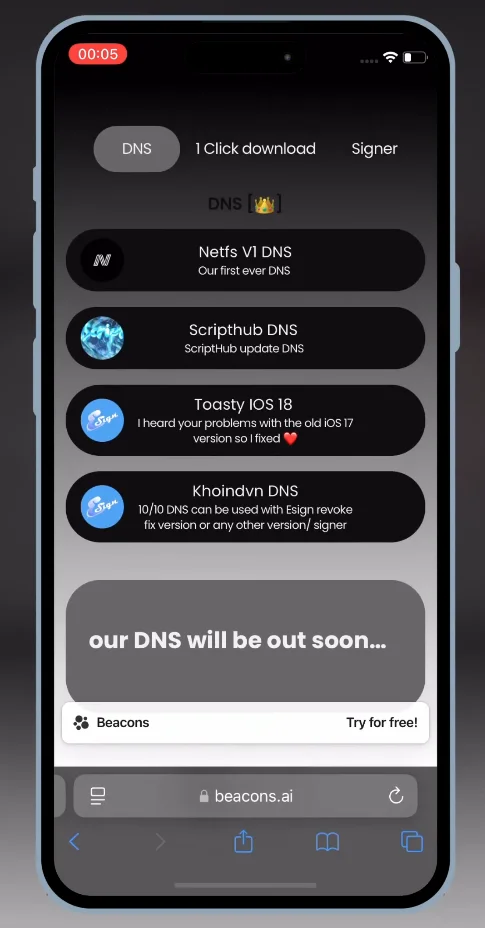
- After that, click on the Download button to download a DNS.
- When you do so, you will have a DNS profile downloaded on your device.
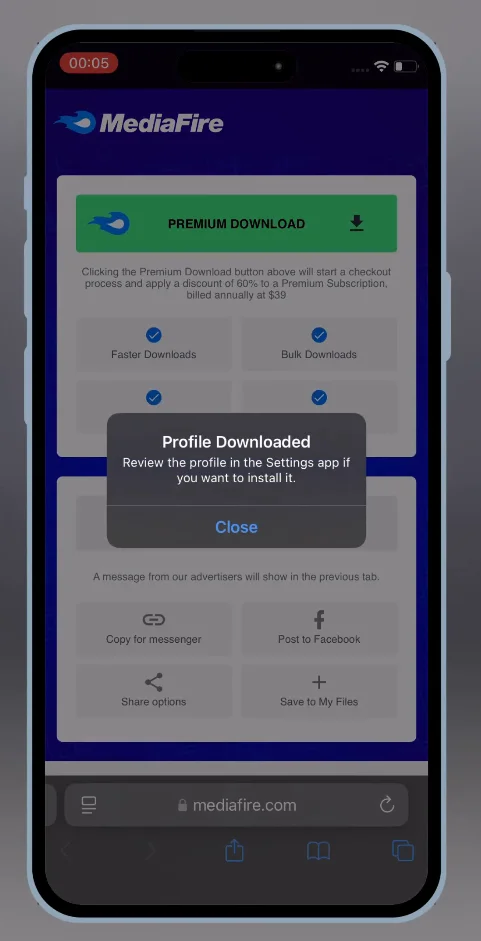
- Once you have successfully downloaded a DNS profile.
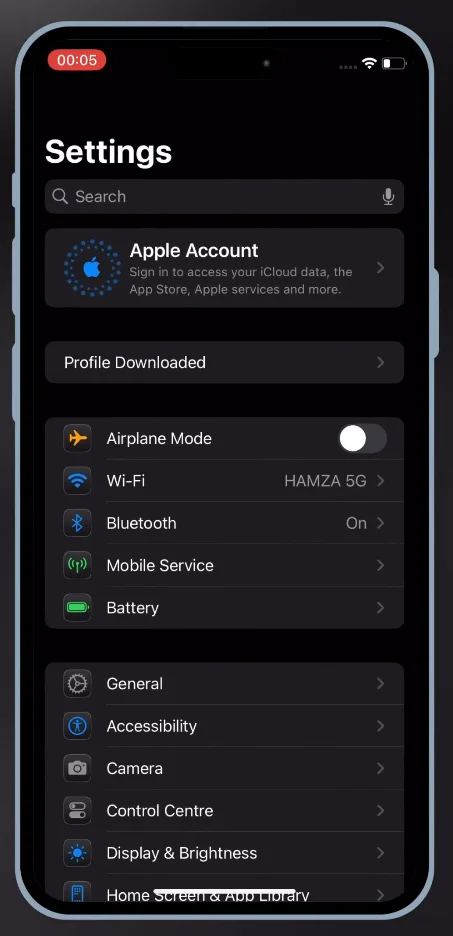
- Now, open the Settings app on your iPhone.
- After that, tap on the Downloaded Profile as shown in the image.
- After that, go to General > VPN & Device Management.
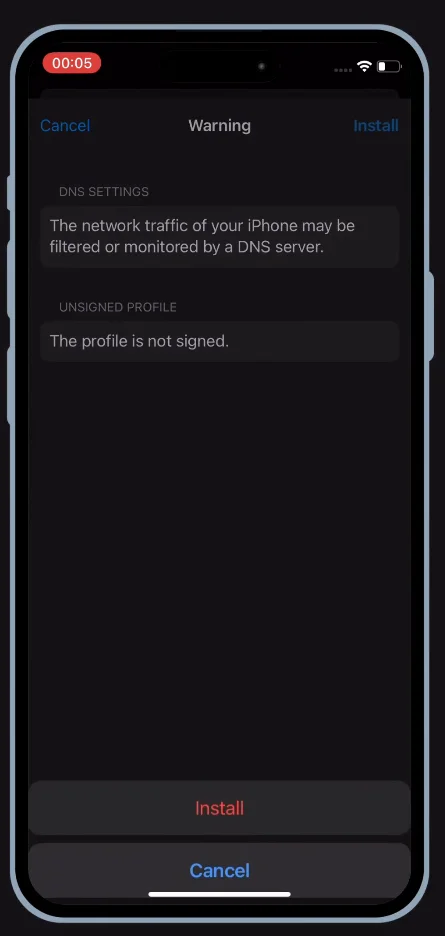
- There, you need to tap on the Install button located at the top right corner of the screen.
- When you do so, a Warning page will appear.
- There, you need to tap on Install again.
- After successfully installing DNS on your device, visit the same link mentioned in the beginning of the process.
- After that, click on the Signer option.
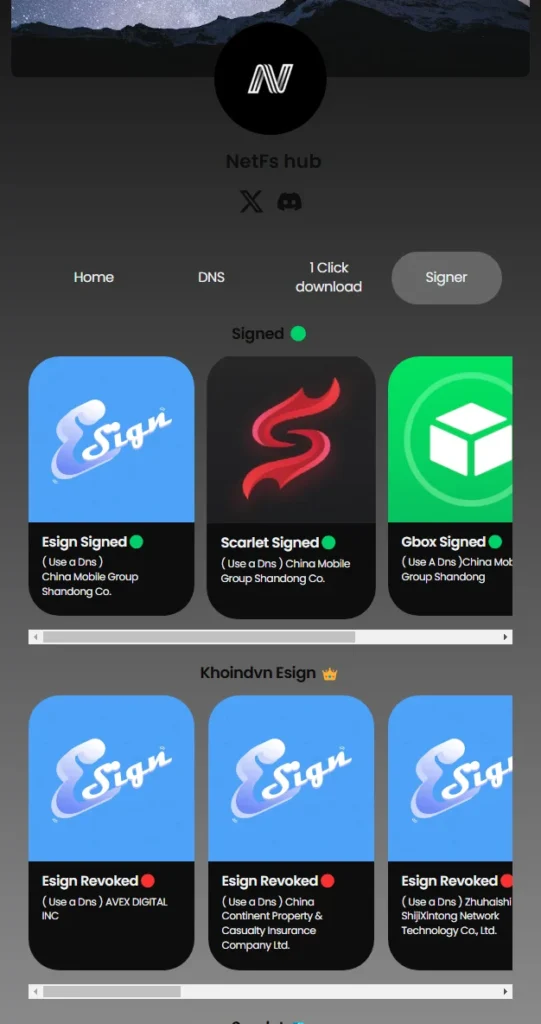
- When you do so, you will be shown multiple ESigners.
- Now, tap on any ESign app link.
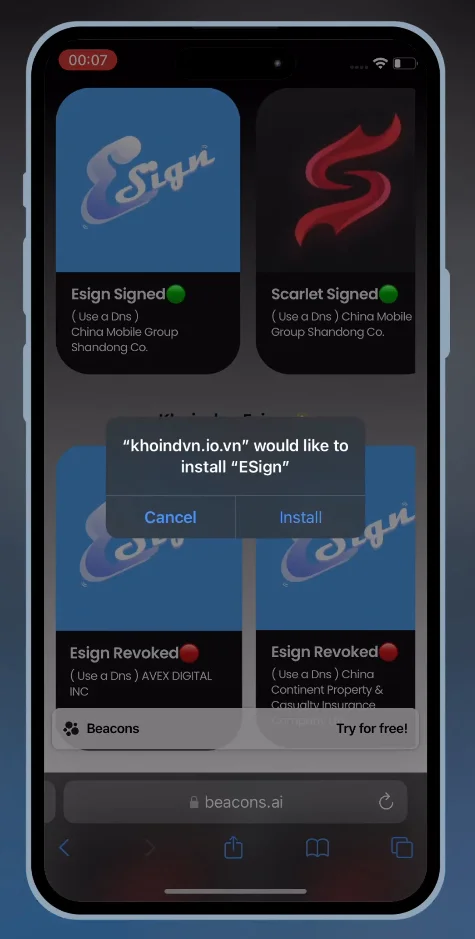
- When you do so, a pop-up will appear on the screen.
- Now, tap on the Install button.
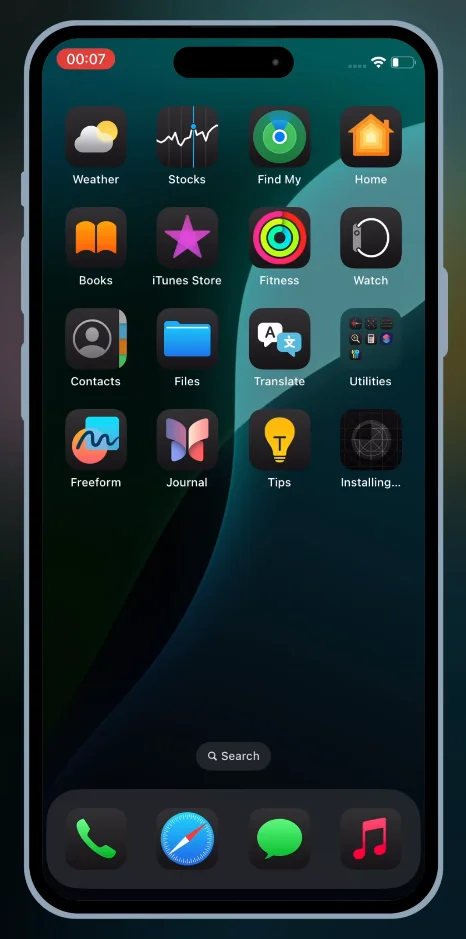
- When you do so, the ESign app will begin installing.
- Once you have it installed on your iPhone, now open the Settings app.
- After that, go to General > VPN & Device Management.
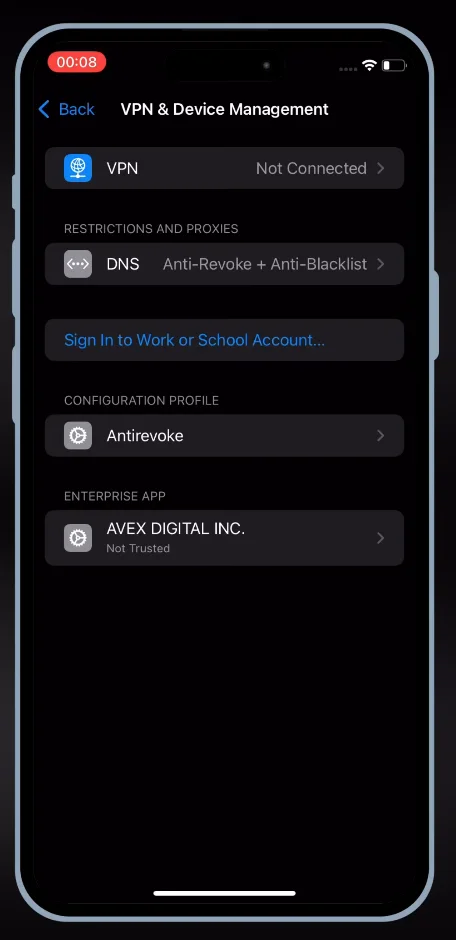
- Now, tap on the ‘Enterprise App’ option.
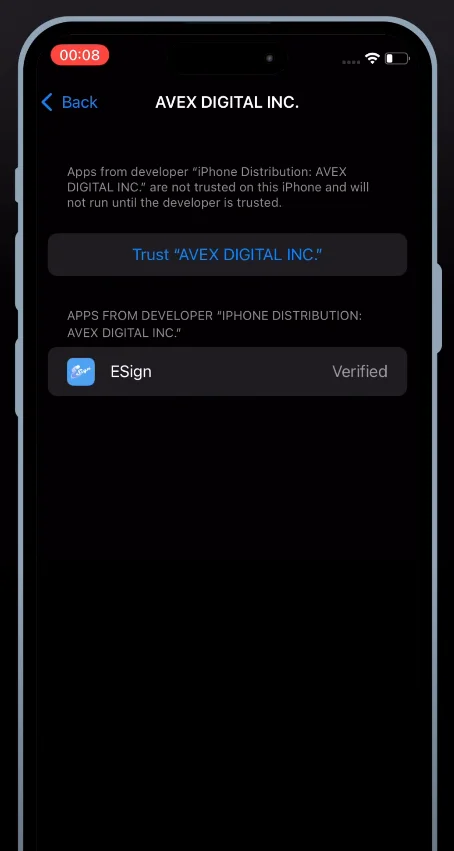
- In a new window, tap on the Trust button.
- When you do so, yet another pop-up will appear on the screen.
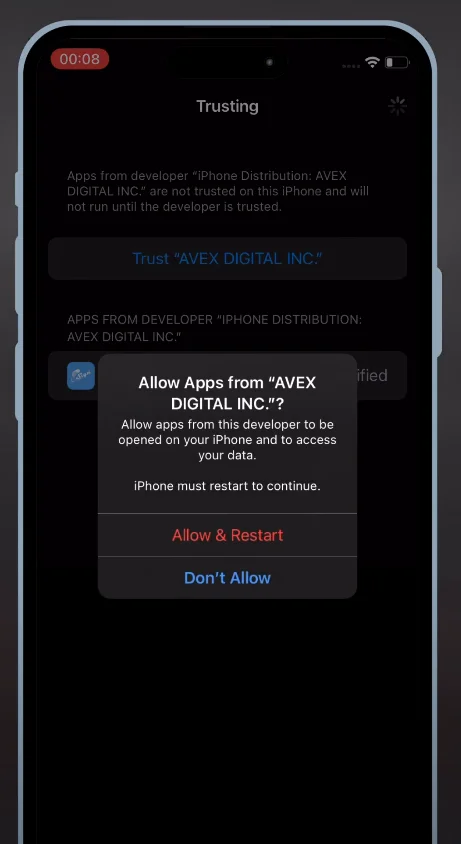
- Now, tap on the ‘Allow & Restart’ option.
- Once your iOS device is restarted, you can use the ESign iOS app on your device smoothly.
- Now, visit the same website again.
- This time, you need to scroll down until the end.
- When you do so, you will see multiple Esign certificates.
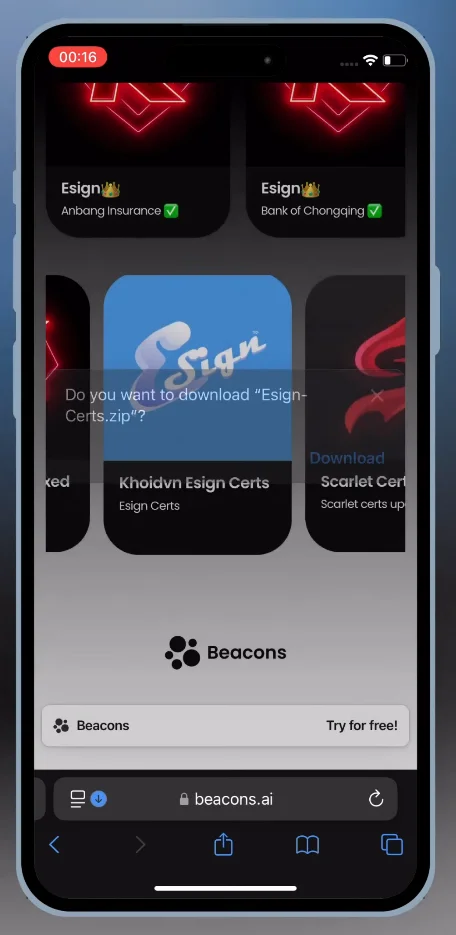
- Now, click on the ESign Certificate and download it.
- Once downloaded, open the ESign app.
- Now, tap on the Three Dot icon from the top right corner and then select Import.
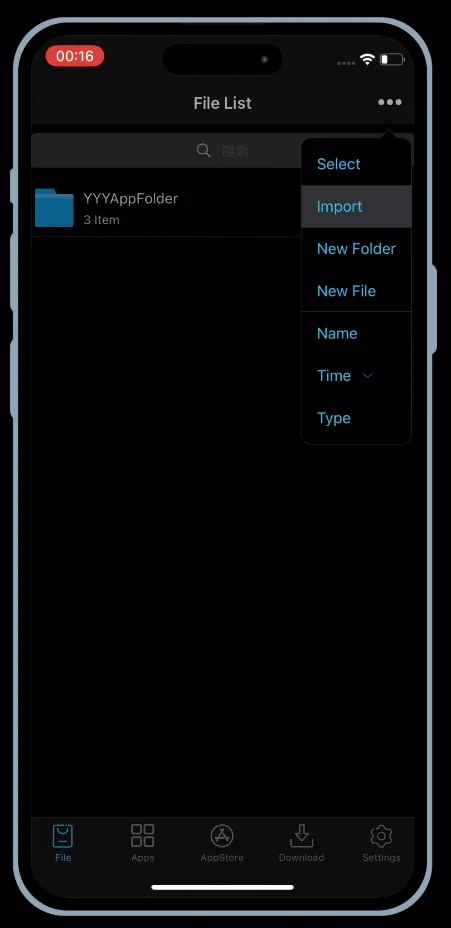
- Now, find the ESign Certificate and import it.
- Once imported, tap on it.
- When you do so, a couple of options will appear.
- Now, tap on the Unzip option.
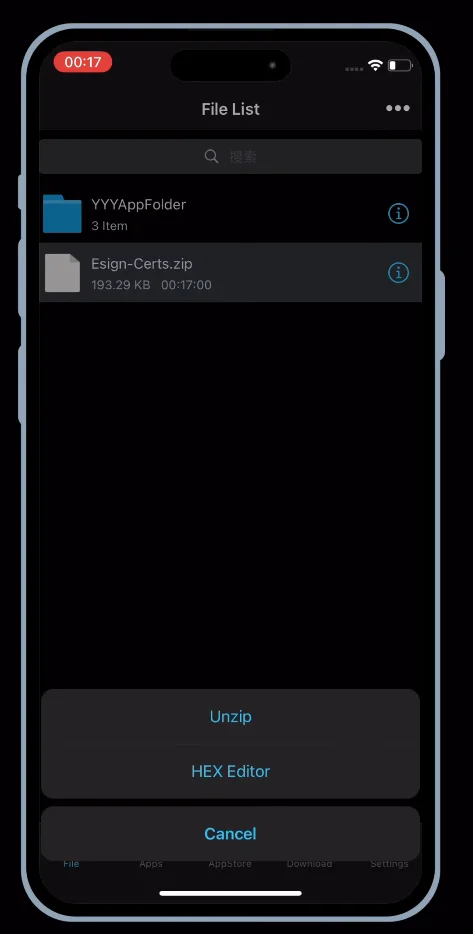
- When you do so, a new ESign folder will be created.
- Now, open the new folder and choose the same name in which link you have downloaded the ESign app.
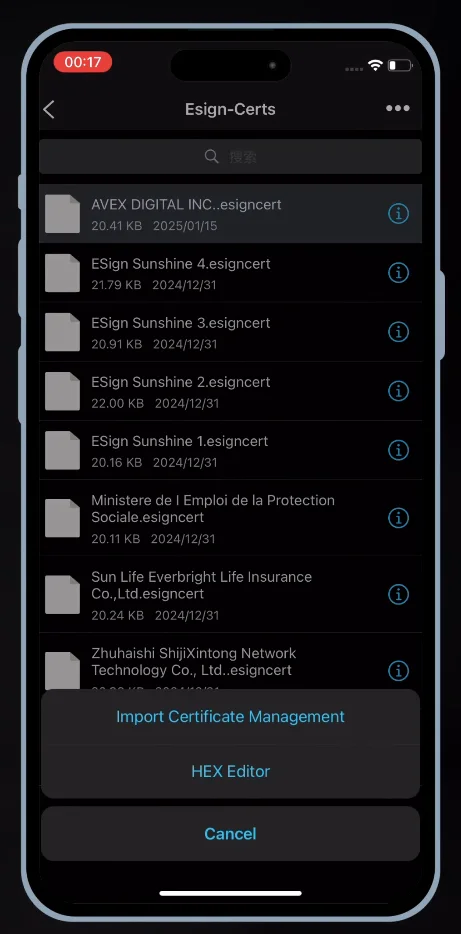
- Now, tap on the ‘Import Certificate Management’ option.
- After that, you can use the ESign app to install IPA files on your iPhone or iPad.
- That’s it.
Also Read > How to Fix ESign iOS App Crashing
How to Install IPA Files Using The ESign IOS App
To install IPA files on iPhone or iPad using the ESign app, follow the steps written below:
- First, you need to follow the steps written above to install the ESign iOS app.
- After installing it on your device, launch the ESign app.
- Once the app is loaded, tap on the Three Dot icon from the top right corner.
- When you do so, a bunch of options will appear.
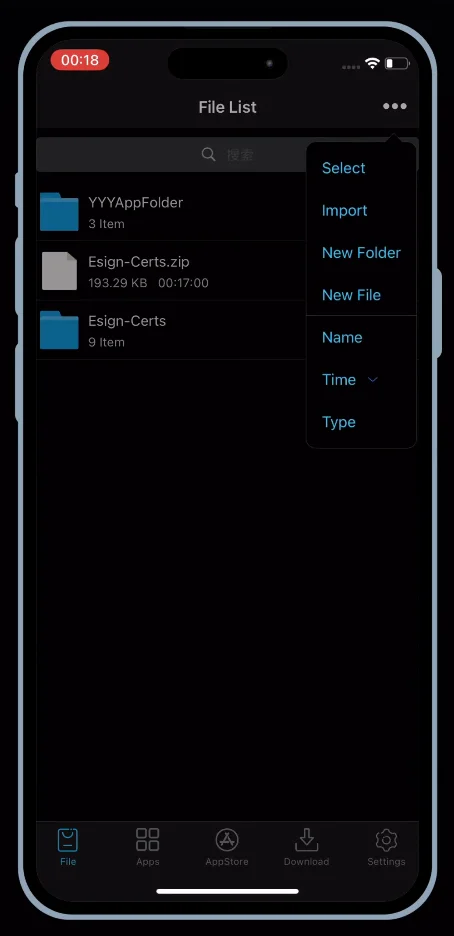
- Now, tap on the Import option.
- After that, find the IPA file that you want to be installed.
- Once found, tap on it.
- When you do so, a pop-up will appear.
- There, tap on the Import button.
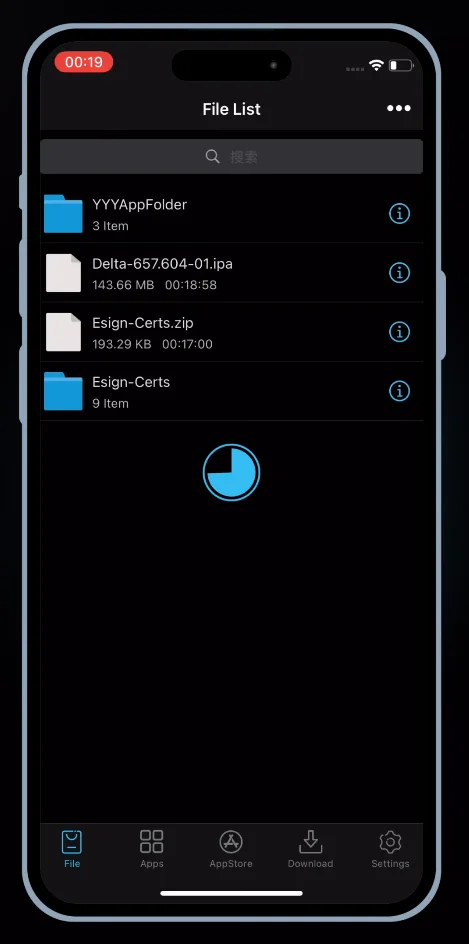
- As soon as you tap on it, the IPA file will begin imported.
- Once you have successfully imported the IPA file, tap on the Imported IPA file.

- When you do so, a bunch of options will appear on the screen.
- Now, tap on the Signature option and then click on ‘More Settings’.
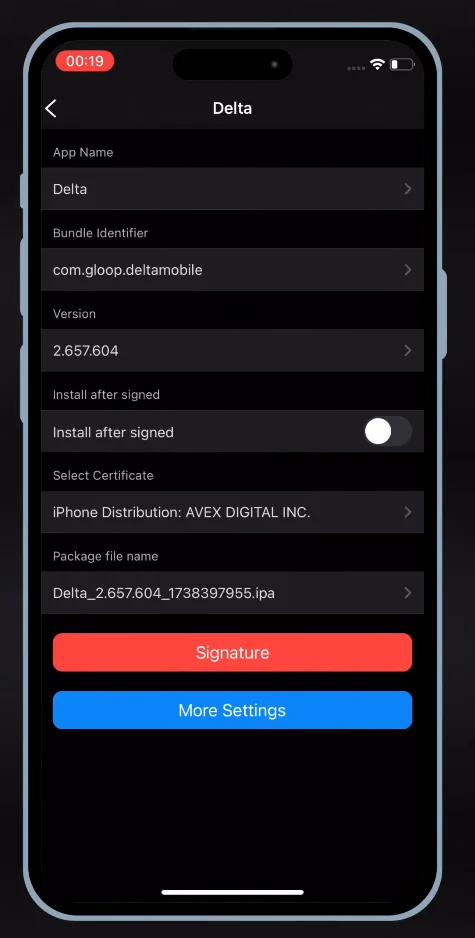
- Now, scroll down to unlock more options.
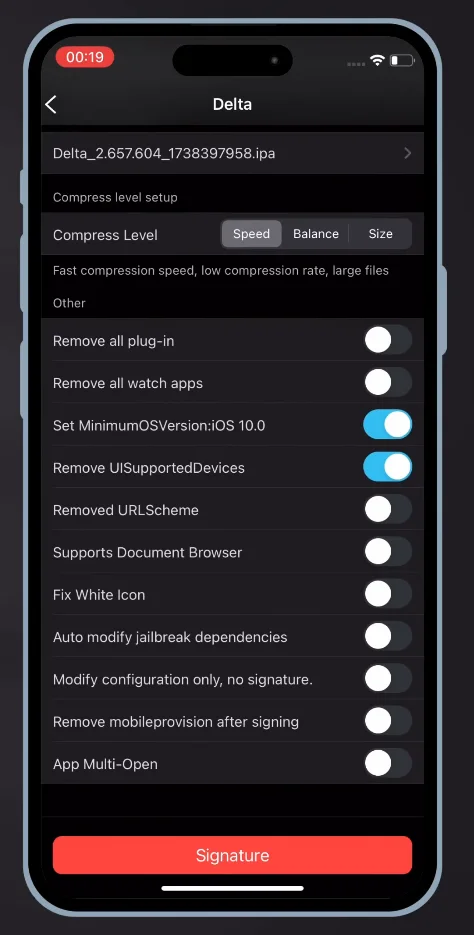
- Now, enable the ‘Remove mobileprovision after signing’ option.
- Once enabled, tap on the ‘Signature’ button.
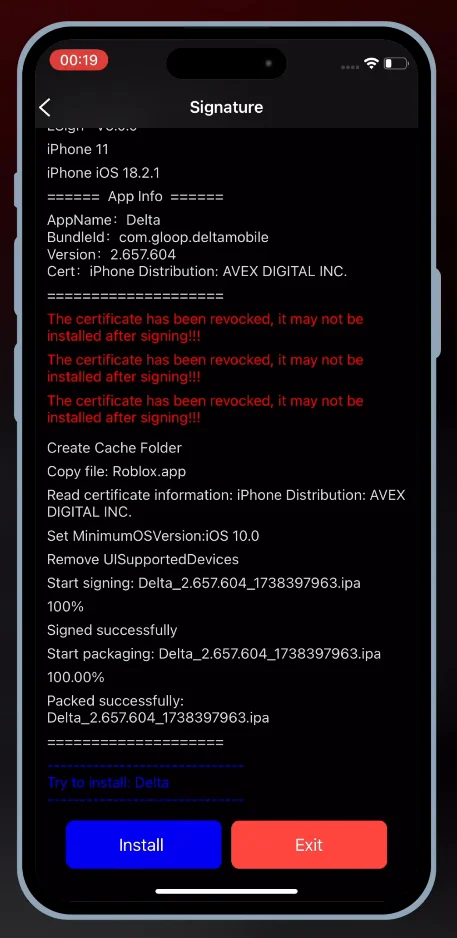
- Now, tap on the ‘Install’ button to begin the installation process.
- Once the process is completed, launch the app.
- That’s it.
Frequently Asked Questions (FAQs)
Is the ESign IPS App Free?
Yes, downloading and using the ESign IOS app is 100% free.
All you need to do is visit its official site – ESign-ios.com and download the DNS profile and the latest ESign certificate.
Can I Use the ESign App To Install APK Files on Android?
No, you can’t use the ESign iOS app to run or install APK files on Android. Since it is an IPA Signer tool, it can only be used on IOS devices.
Is There A Limit to the Number of IPA Files I Can Sign With Esign IPA Signer?
No, you can install an indefinite number of IPA files on your IOS devices without any restriction