When it comes to installing IPA files on iPhone and iPad, the majority of users use apps like ESign. If you don’t know how to install and use Esign IOS app to sideload IPA files on iOS devices, click on the link.
Besides the ESign iOS app, there are a bunch of apps that can be used to install IPA files on iOS devices. In this post, we will be talking about one such app called KSIGN.
Yes, you read that right!
KSign IOS app is pretty similar to ESign but its UI is a bit different. Since KSign IOS app has just been released in the market, many don’t know how to install and use it on iPhone or IPad.
While you are here, you must be one of those iOS users. If that’s the case then don’t worry because we have got you covered.
Without any further ado, let’s get started:
How to Install KSign On IOS Device (iPhone/iPad)
The process of installing KSign IOS app is very easy. Those who don’t know the installation process must follow the steps written below:
- First, visit its official website — www.Ksign-ios.com.
- After that, click on the KSIGN tab from the main navigation menu.
- After that, click on the KSign iOS DNS button.
- When you click on it, you will be taken to a new website.
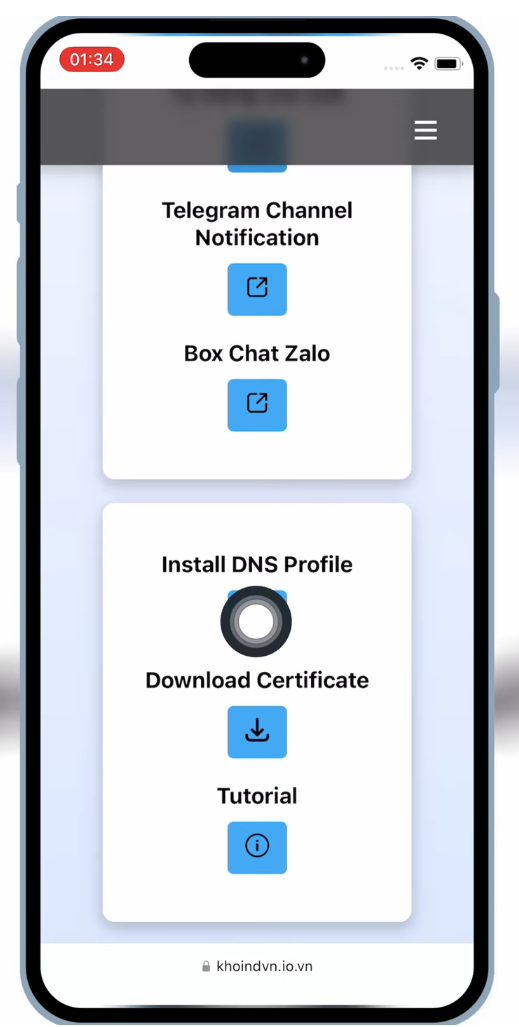
- There, scroll down and click on the Install DNS Profile as shown in the image below.
- When you do so, a pop up will appear on the screen asking your permission.
- When you tap on Allow, the DNS will be downloaded on your device.
- After that, go to Settings > Downlaoded Profile > VPN & Management > Install Profile > Install.

- When you do tap on Install, a new app will be installed on your Homescreen.
- Now, open that new app and scroll down until you see the KSign app link.
- Now, click on any KSign app and tap on Install.
- After wait for the app to be installed.
- Once installed, launch the KSign app.
- When you do so, you might see a pop up, “Untrusted Enterprise Developer”.
- To get rid of this pop up, go to Settings > General > VPN & Device Management > Enterprise App > Trust > Allow & Restart.
- Now, you can use the Ksign app to install IPA files.
- That’s it.
How to Install IPA Files Using KSign IOS App
Here’s a step by step guide explaining how to sideload IPA files using the KSign iOS app:
- First, download and install the KSign IOS app.
- If you don’t know how, follow the steps mentioned above.
- Now, open the newly installed app.

- After launching this app, scroll down and hit on ‘Download Certificate’ and save it on your device.
- Once saved, launch the KSign app on your iOS device.
- After that, tap on the Settings option.
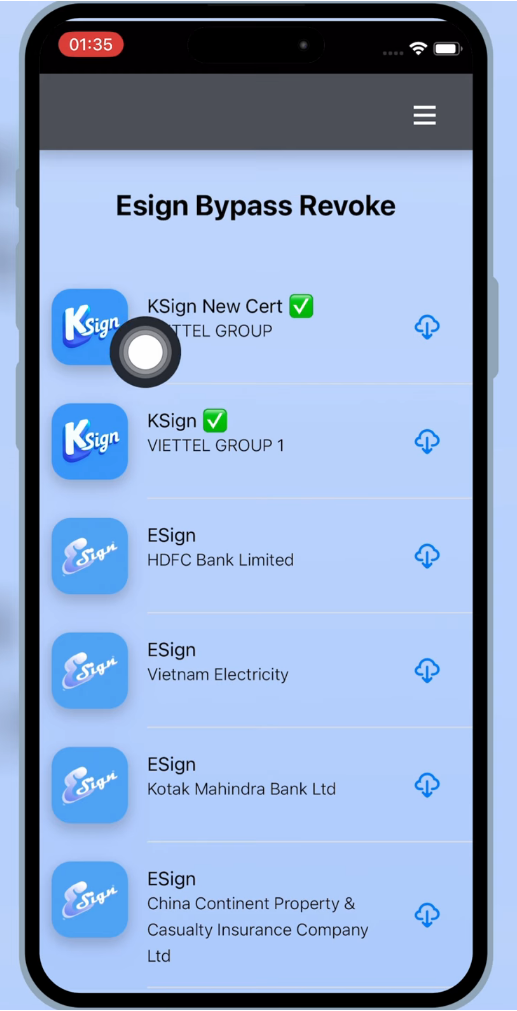
- There, click on the Add Certificate option.

- Now, hit on the + Icon and then screen down.
- After that, click on the Import KSign File.
- Now, select the KSign app from the downloaded folder.
- Make sure to select the same KSign file that you used to install the KSign app.
- Once done, click on the + Icon located at the top right corner of the screen.
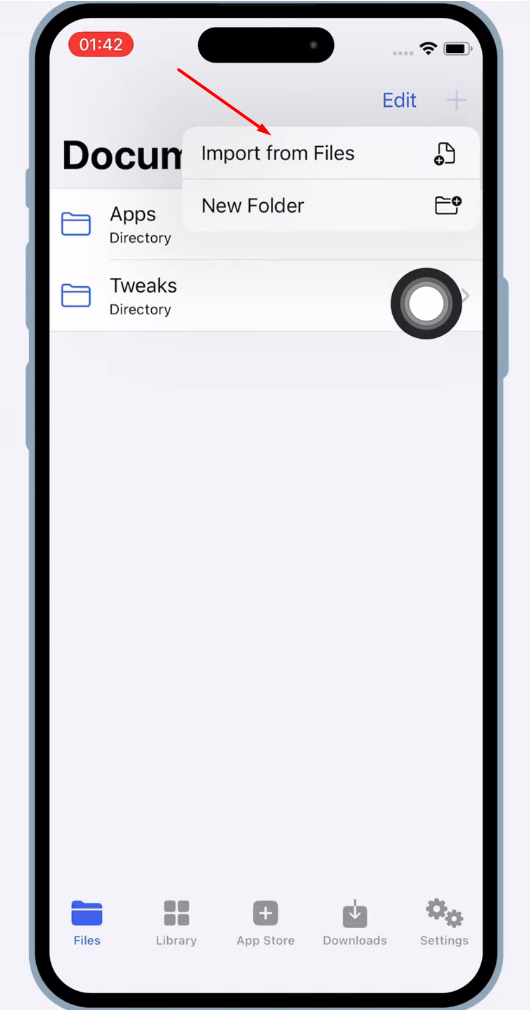
- From the options, select ‘Import From Files‘.
- Now, navigate the IPA file that you want to install.
- Once found, select and import it.

- Now, tap on the Imported IPA file and then select ‘Import App’.
- When you do so, the app will be imported.
- Once done, go to Library and hit on the Imported IPA file.
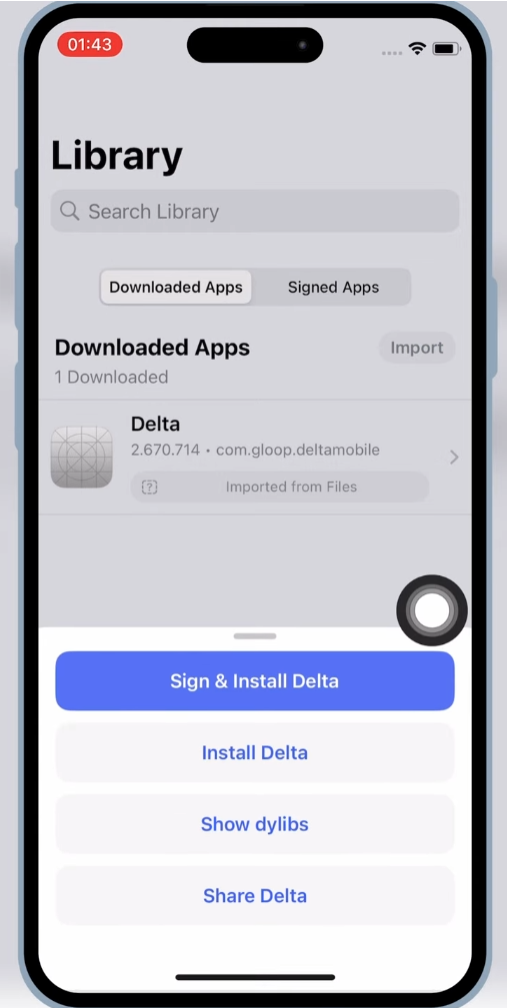
- Now, tap on the ‘Sign & Install’ option.
- After that, hit Start Signing.
- When you do so, the IPA will begin installing in a while.
- Once installed, launch it and enjoy the app.
- That’s it.
That’s everything you need to know about how to install the KSign iOS app and use it to sideload IPA files on IOS.