Do you want to sign and install iCreate using the ESign IOS app? If your answer is YES then you have come to the right place.
For the unversed, iCreate is an application that provides tweaks, mods, and new features for iOS devices. Since it is a modded version, the iCreate app is not available on the Play Store.
To install iCreate on an iPhone, you need to sideload it. If you don’t know how to sideload the iCreate app on your iOS device then don’t worry because we got you covered.
Without any further ado, let’s get started:
Signing And Installing iCreate App Using the Esign IOS (2026)
If you want to download and install the iCreate app using Esign IOS, follow the steps written below:
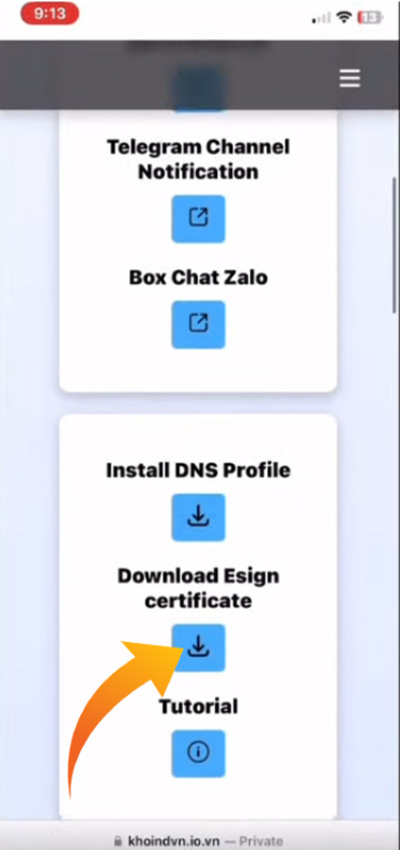
Step 1: Install DNS Profile
Before you start sideloading the iCreate app on your iOS device, you must download and install the DNS profile.
To download and install the required DNS profile on your iOS device, use the steps mentioned below:
- Open your Safari browser.
- Now, please copy the below link and paste it inside the URL bar.
https://www.mediafire.com/file/s4k5q0xxzm72ae1/verycooldns_(1).mobileconfig/file
- This will open a MediaFire website where you need to click on the download option to download the DNS profile.
- Tap on the “Download” button and it will show you a pop-up message.
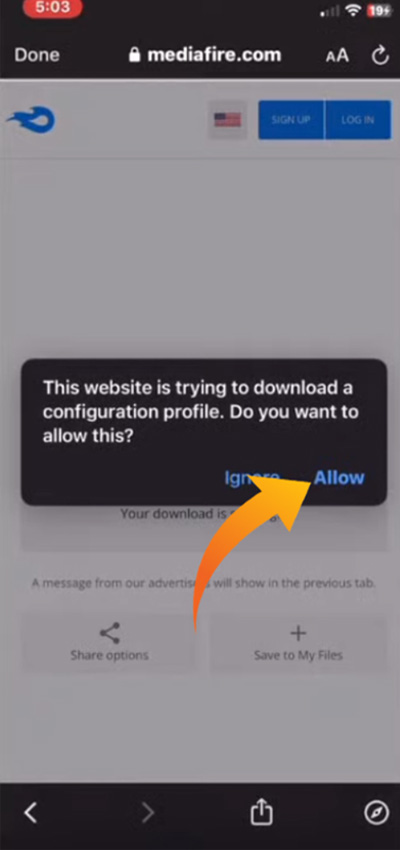
- Now, click on “Allow” to allow the MediaFire website to download the DNS profile.
- Now, wait until the DNS file is downloaded.
- Once the downloading process is completed, launch the “Settings” app.
- After that, tap on the “Profile Downloaded” option.
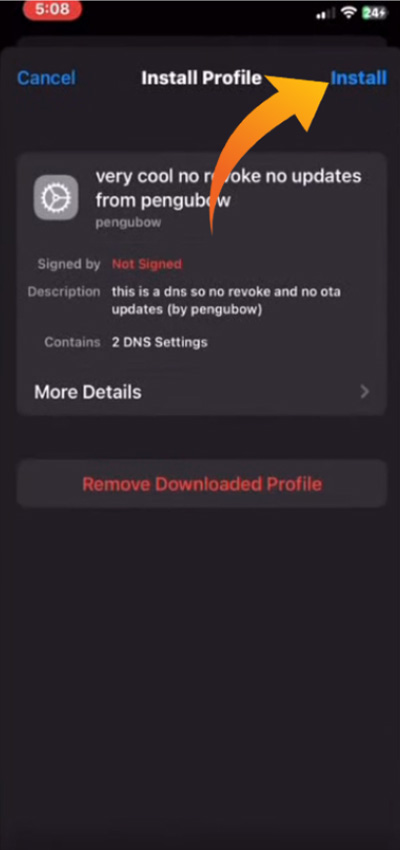
- Now, click on the profile that you just downloaded.
- Then click on “Install” at the top right corner and then click Install again.
- This will show you a pop-up. Here, select “Install” one more time.
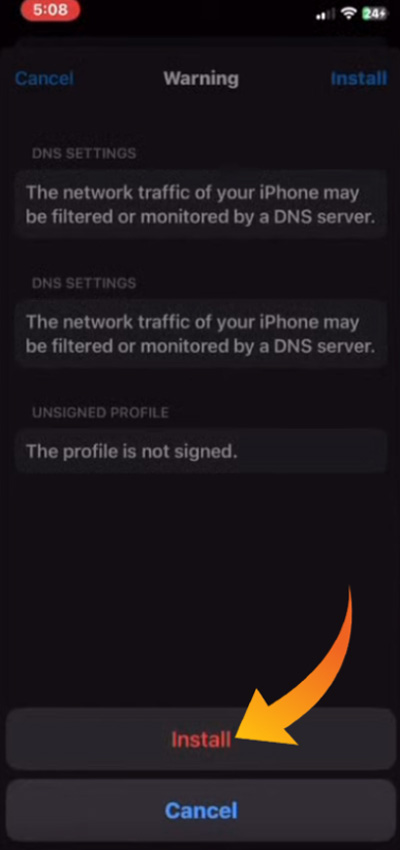
- This will install the DNS profile on your device.
- Go to the DNS tab and make sure the new DNS Profile is enabled.
- That’s it.
Step 2: Install ESign
After installing the DNS profile, the next thing you need to do is install the ESign app.
To do so, use the steps written below:
- Open the Safari Browser again.
- Now, visit the following website.
- This will take you to the website where you need to scroll down until you see the links to download the ESign app.
- Now, click on the “Cloud Icon” next to the Esign app.
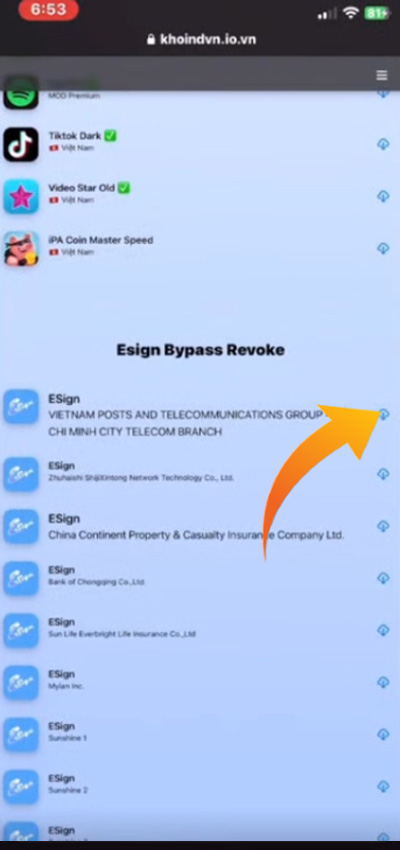
- When you do so, a pop-up will appear.
- There, click on “Install”.
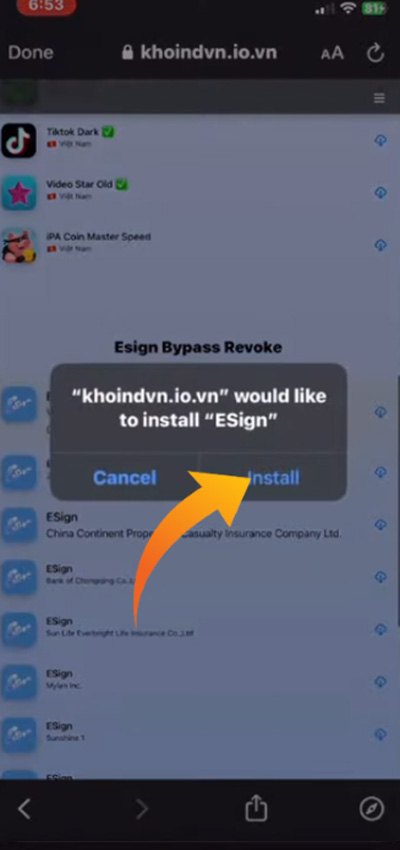
- This will start installing the Esign app on your device.
- Now, open the “Settings” app.
- After that, go to General > VPN & Device Management.
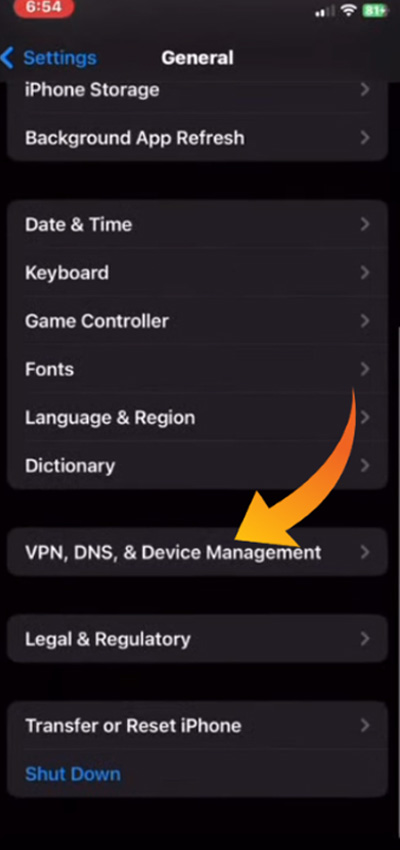
- Under this option, find and select the ESign app.
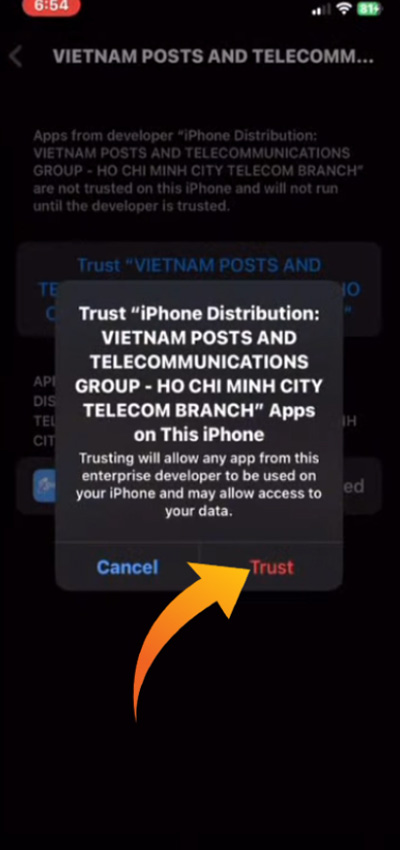
- Then select “Trust”.
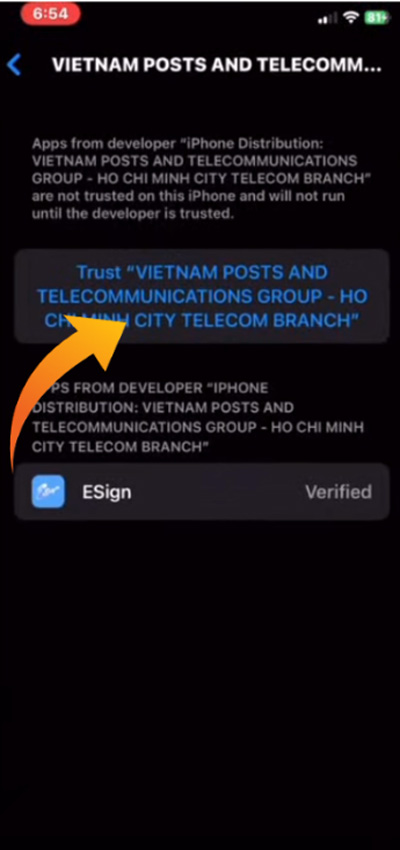
- Then “Trust” again.
- Now, go back to the website you visited earlier.
- After that, scroll down and select the “Download Esign Certificate” option.
- Now, wait for the downloading process to be completed.
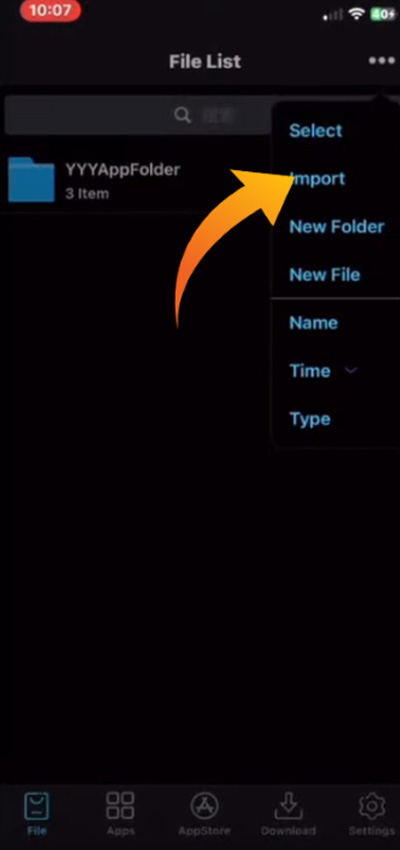
- Once the downloading process is completed, open the Esign app and click on the three dots at the top right corner.
- From the menu, select “Import”.
- Now, navigate to the location where you downloaded the Certificate file and select it.
- This will import this file on the Esign app.
- Now, click on the imported certificate zip file and select “Unzip”.
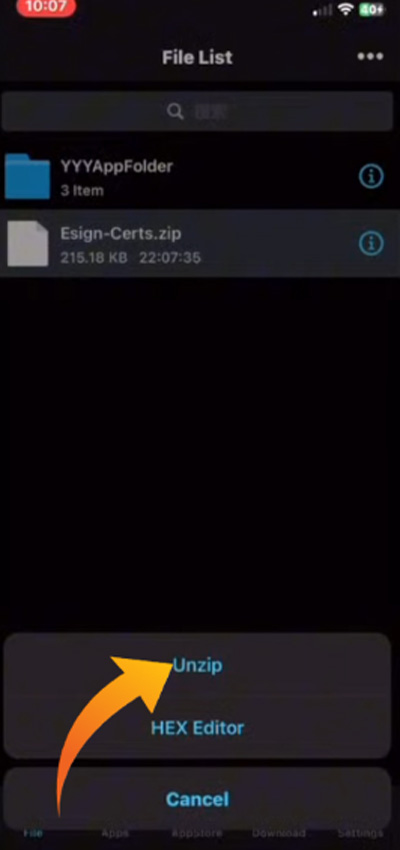
- This will create another folder.
- Open the new folder and select the Certificate with the same name as the website that you choose to download the Esign.
- After finding the certificate file, import it to the Esign app.
- That’s it.
Step 3: Install iCreate App
Once you import the certificate on the ESign app, it is ready to sideload any application on your iOS device.
To sideload the iCreate app, use the steps written below:
- Open the Safari Browser.
- Then visit https://icreate.pro/download.
- Here, scroll down and select the “Download IPA” option.
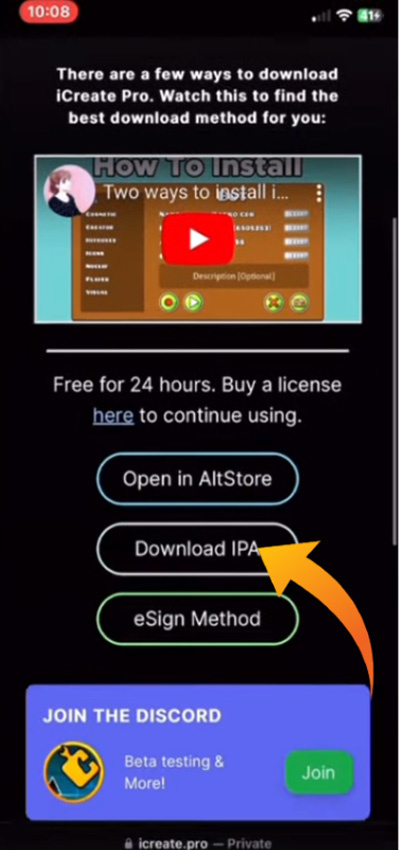
- Now, select “Download” on the appearing window.
- This will start downloading the iCreate IPA file.
- Once the downloading process is completed, open the ESign app.
- Then click on the Three Dots at the top right corner and select “Import”.
- Find the “iCreate IPA” file and select it.
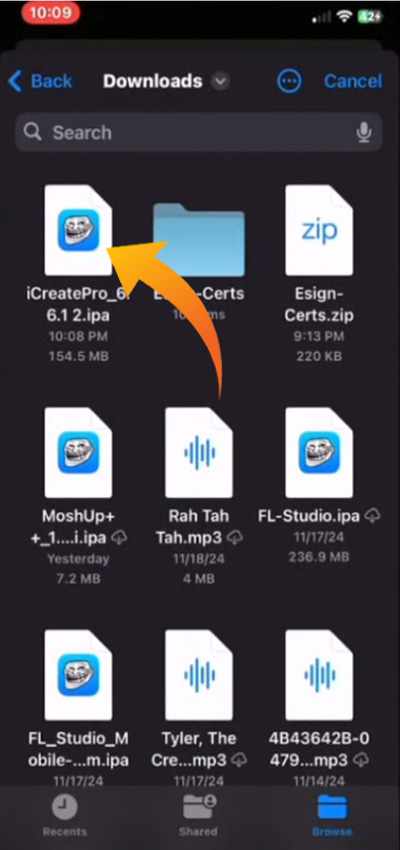
- Then select “Import”.
- Once it is imported into the ESign app, click on it.
- Then click “Signature”.
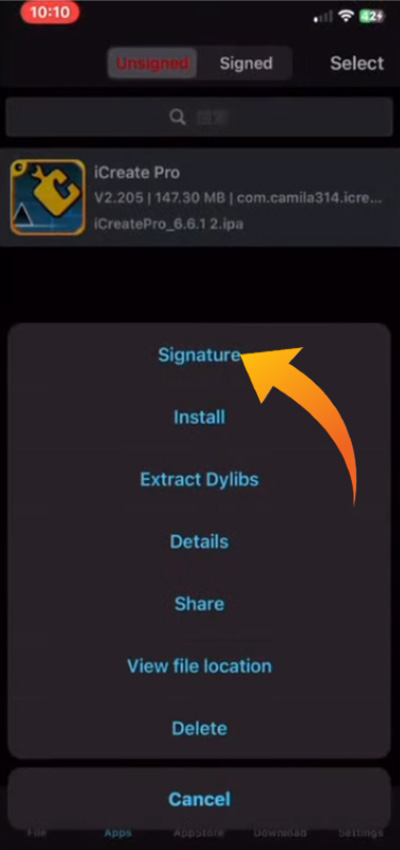
- Then select the “Signature” again.
- This will run some processes. Once it’s done, click “Install”.
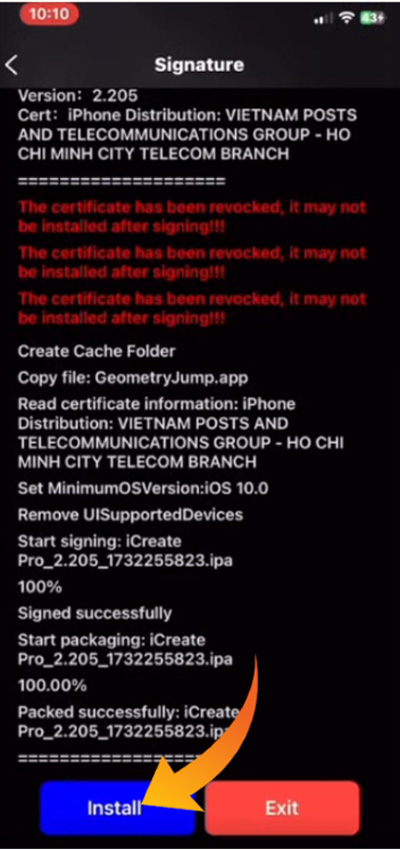
- Once you do so, it will sideload the iCreate app on your iOS device.
- That’s it.
That’s everything you need to know to sign and install ICreate using Esign IOS.